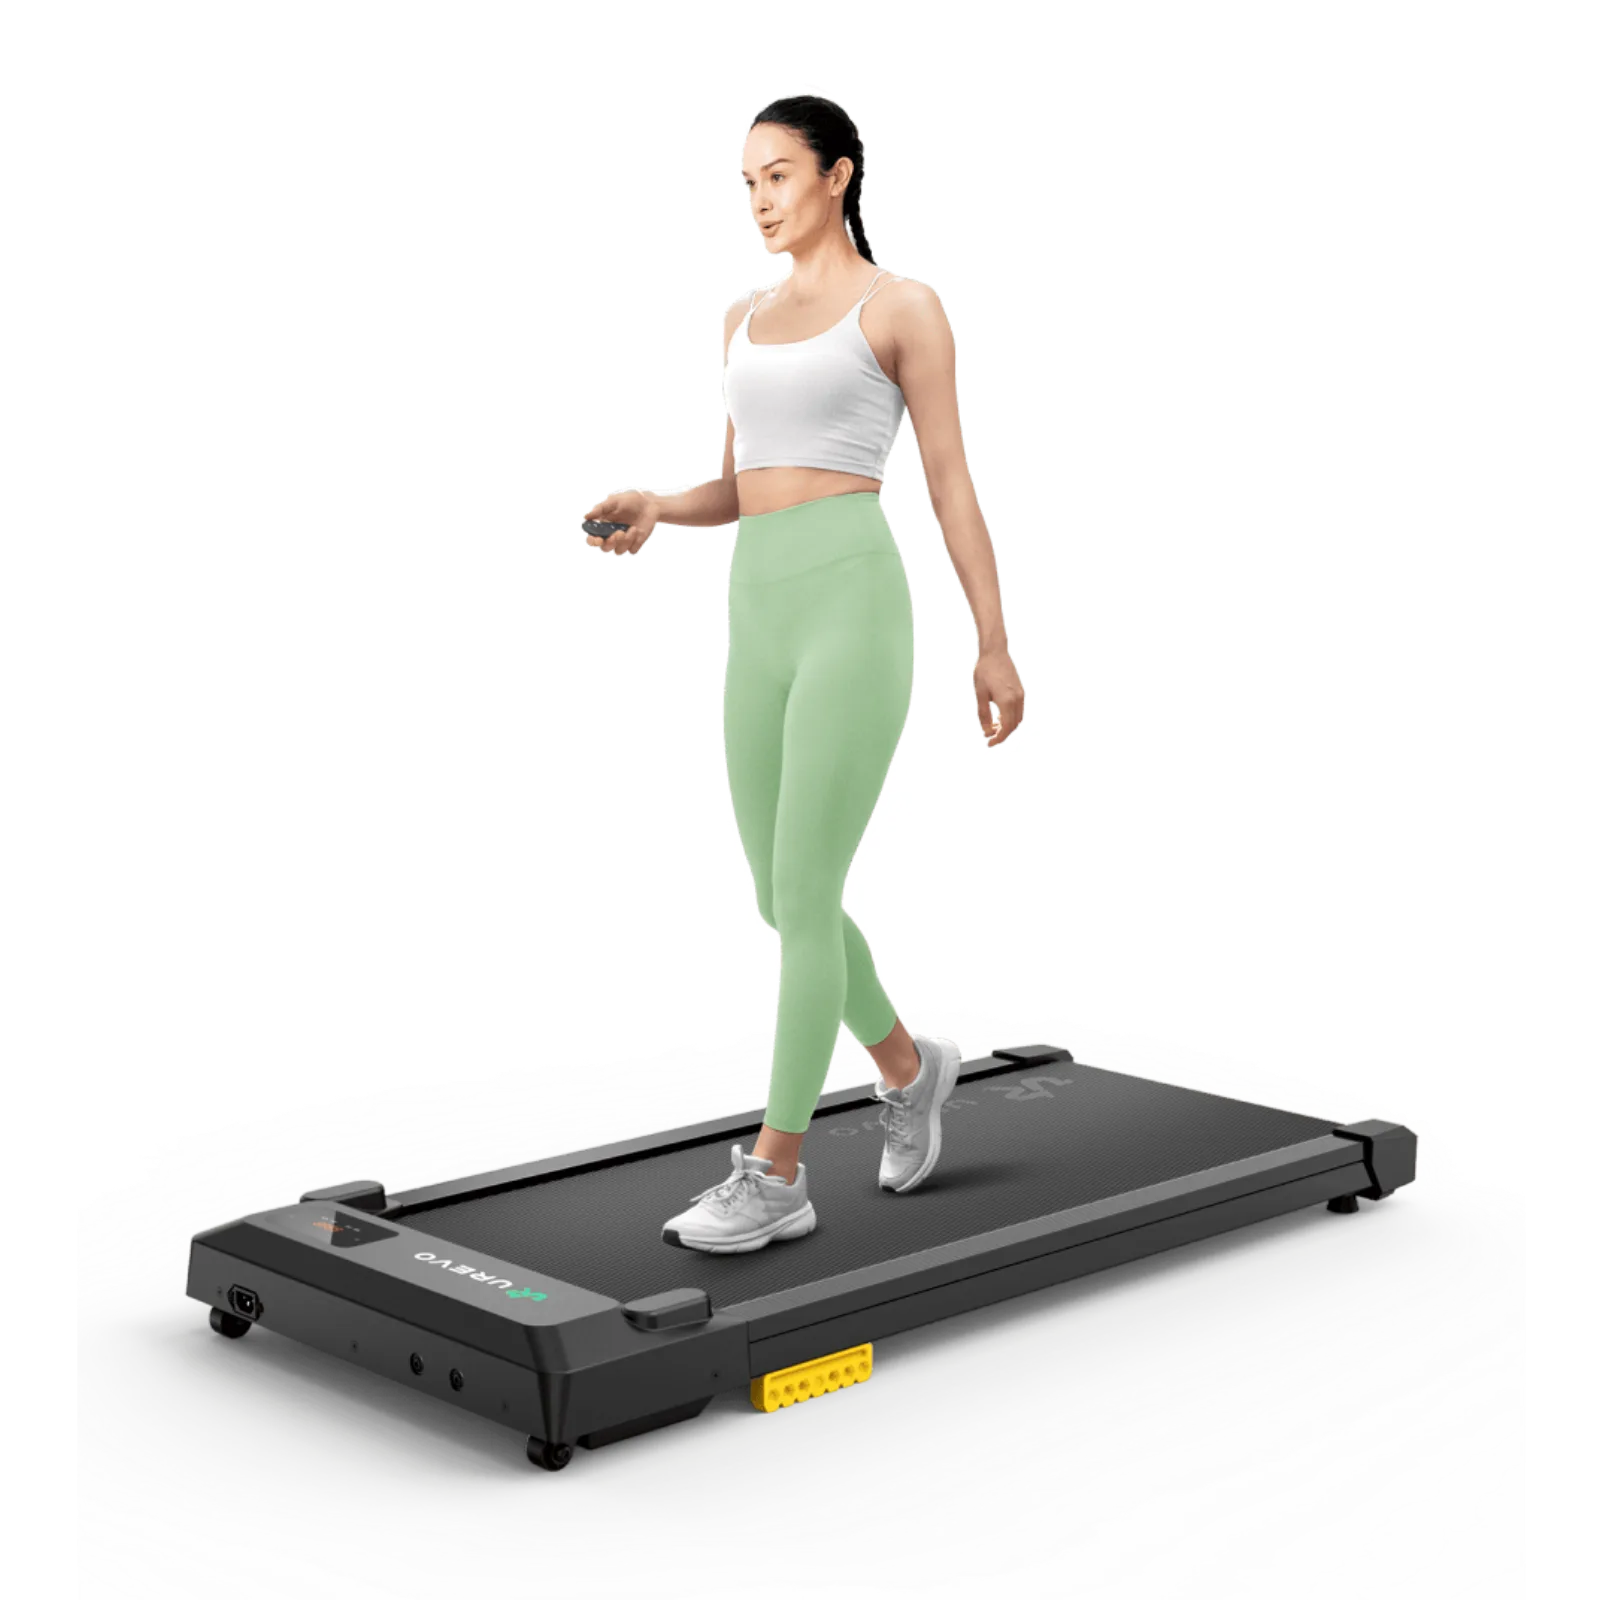
Walking while working
How to set up a walking pad at your desk
The easiest setup is the one you can return to tomorrow. Measure the room, place the pad, set desk height, arrange the screen, and keep controls and step-off space within reach for everyday use at home.
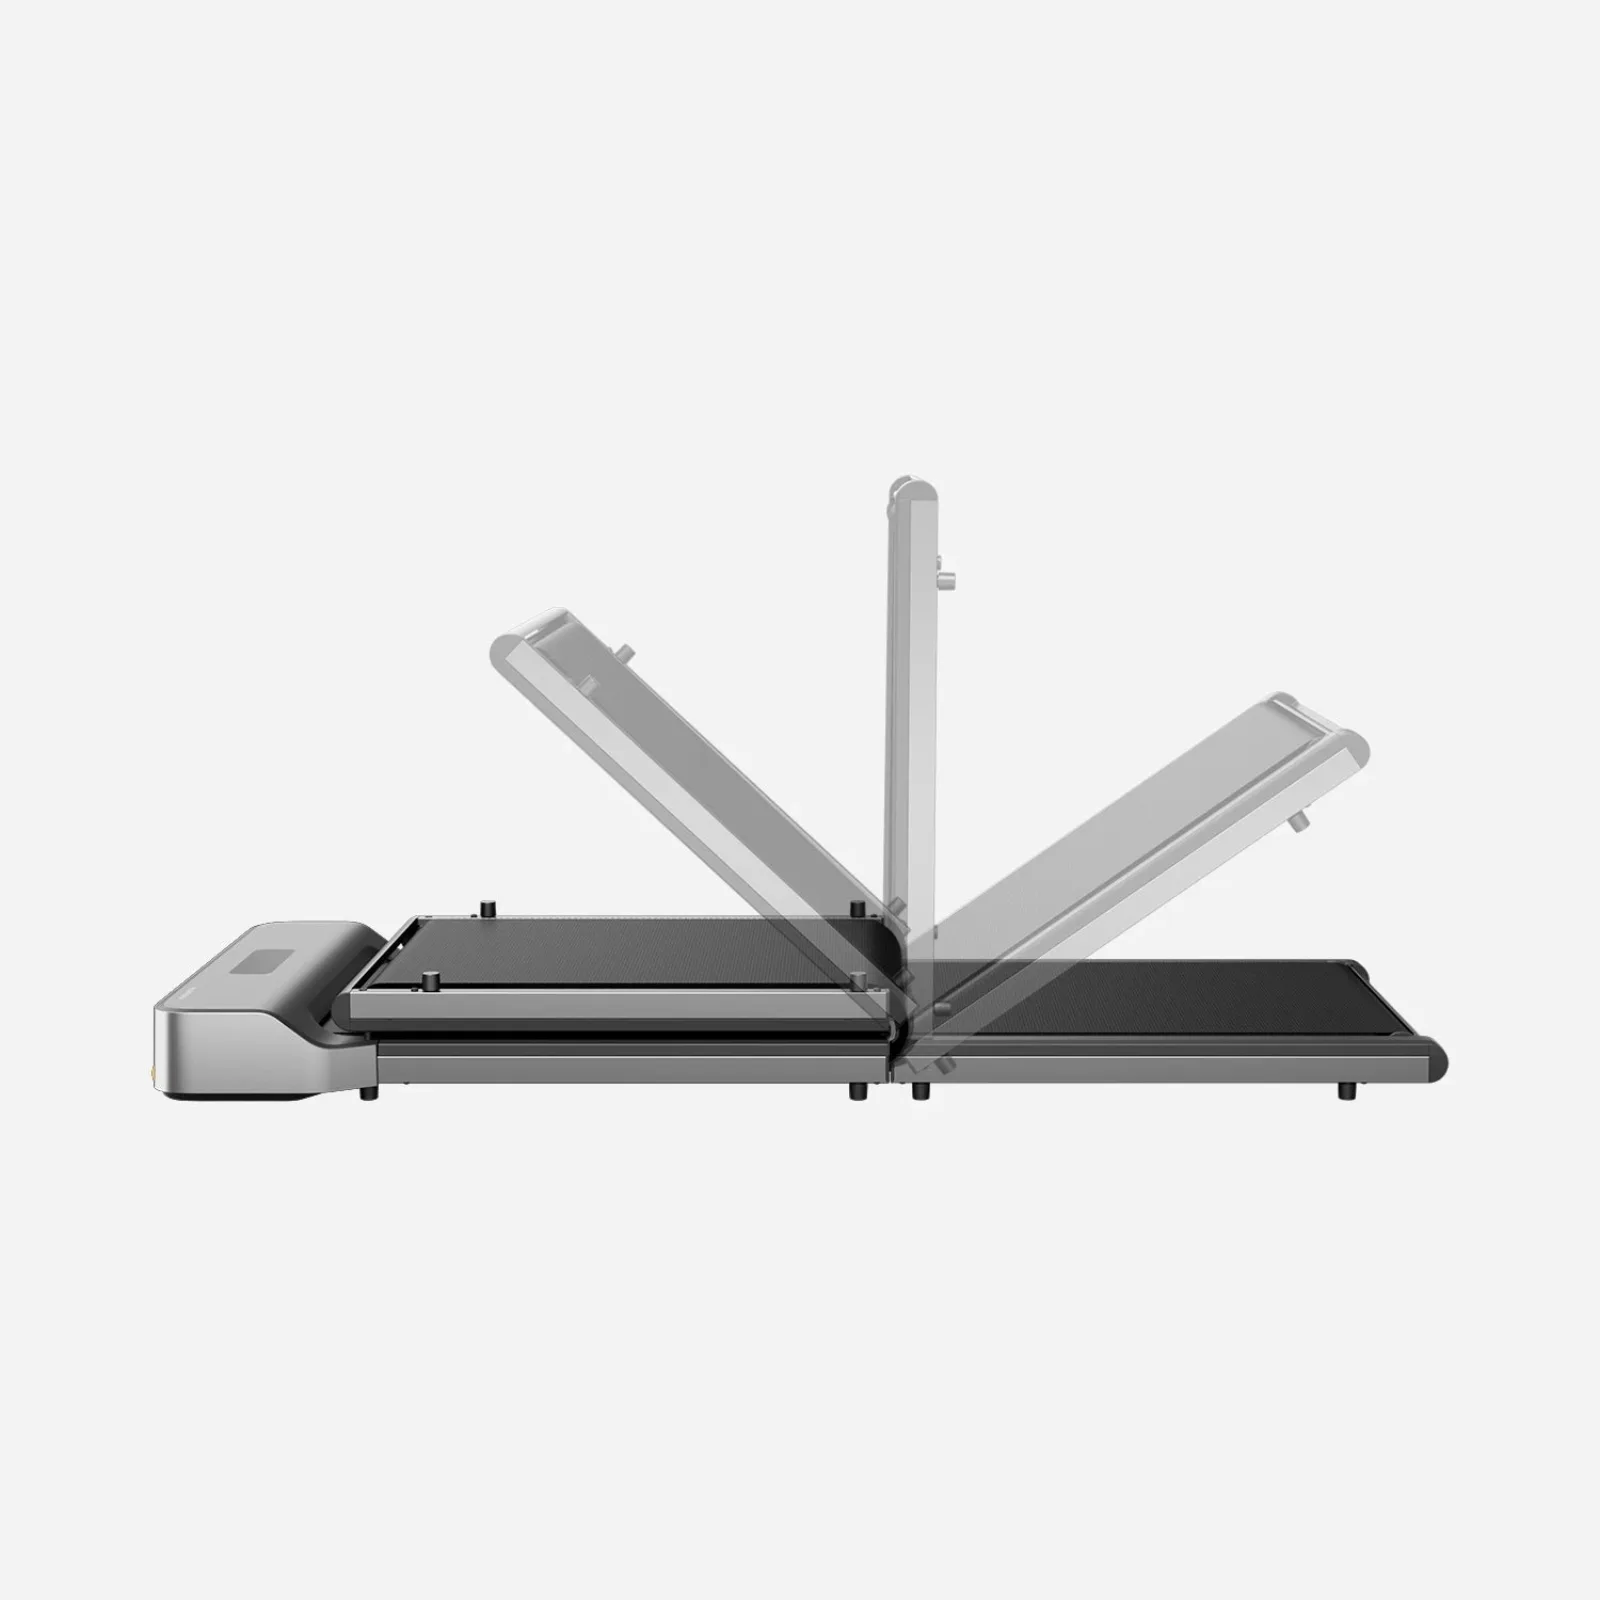
Measure first, set the finished desk height, then tune screen, cables, pace, and chair storage.
First-time walk-and-work users building a repeatable home-office routine.
Noise, vibration, posture, and model-specific safety instructions still need a personal check.
Our take is based on published specifications and linked sources. We have not hands-on tested these products. Some links may earn a commission.
Measure
Person, desk, pad, room, and controls
Tune
Keyboard, screen, camera, and task fit
Test
Cables, stop controls, and a short walk
The order matters
Measure before you optimize.
The quickest way to make this setup frustrating is to buy around a headline speed or desk range before checking the finished keyboard height and the space between the desk feet.
Start with the worksheetMeasure the finished setup, not the brochure.
Measure in the shoes you will actually wear. Record floor-to-elbow height, the desk’s real minimum and maximum, the pad’s deck height, and the clear width between desk feet or crossbars. A pad’s overall body width is the number that has to pass between furniture; belt width is a separate walking-space check.
Keep one unit system throughout the worksheet. If the desk or pad manual lists a range, note the finished range after the desktop is installed and the pad is on the floor.
Open the height-clearance toolPrint or copy
Your measurement worksheet
Click inside the sheet, use Cmd/Ctrl+A, and copy it into your notes. You can also print this page from your browser; the worksheet is intentionally plain so it stays readable on paper.
Place the pad on a stable, clear floor.
Start with the surface named in your walking-pad manual. The floor should be level, clean, and firm enough that the pad does not rock or migrate. Do not assume a thick rug, soft mat, or uneven floor is acceptable just because the pad powers on; those surfaces can change stability, belt tracking, vibration, and ventilation.
Floor
Keep the belt and step-off area free of toys, bags, cords, and loose mats.
Outlet
Follow the manual for the outlet and plug. Keep the power cord unpinched and do not overload a strip.
Clearance
Leave the model’s stated clearance around the pad and keep a clear route to step off.
Ventilation
Keep motor and side vents unobstructed; do not place the pad against a heat source or cover it while powered.
Practical check: Stand where you would step off, look behind and to both sides, and remove anything that would make a quick stop or step-off awkward. This is a WorkChoose setup suggestion, not a quoted OSHA rule.
Set the desk from your elbows up.
Put the walking pad in its final position before setting the desk. Raise or lower the desk while watching for contact with the pad, frame, crossbar, wall, and cable loop. Use the finished desk height at its maximum—not only the number printed on a product page.
Use the same units throughout
usable keyboard height = desk max height − walking-pad deck height − footwear/stance allowance
Example: a 48-inch desk maximum − a 4-inch walking-pad deck − a 0.5-inch footwear/stance allowance = 43.5 inches of usable keyboard height. Compare that result with your standing keyboard target; it is a fit check, not a guarantee of comfort or a medical/ergonomic prescription.
Calculate your clearanceDesk range
Confirm the desktop reaches the target with the pad under your feet.
Desk stability
Check wobble at the height you will actually use, with your normal screen load.
Travel
Run the desk slowly from minimum to maximum and watch every pinch point.
Make the workstation stable before you add speed.
A monitor that shakes, a keyboard that is too far away, or a camera that bounces can make a walking setup unusable even when the height calculation passes. Set the screen and input devices while standing on the pad, then repeat the check at the desk’s low and high positions.
Monitor + camera
- Use a stable stand or arm; check that the screen remains readable while the belt moves.
- Keep the camera framing and microphone position usable at your work height; step off if movement makes a call distracting.
- Secure heavy displays and do not let a monitor cable become the desk’s travel stop.
Keyboard + mouse
- Keep the keyboard and mouse close enough that you are not reaching forward while walking.
- Aim for a repeatable position with relaxed shoulders and wrists; use the actual keyboard, not an empty desktop, for the final height check.
- If precision work becomes unstable, pause the belt and finish that task standing still or seated.
Give moving cables a gentle loop.
Route the desk’s power, display, webcam, and charger cables only after the desk and pad are in position. Leave enough slack for the full desk travel range, then secure the loop to the desk frame or an approved cable manager away from the belt, feet, rollers, and pinch points.
1. Low position
Lower the desk slowly and watch for a loop that catches on a foot, wall, or crossbar.
2. High position
Raise it slowly; a cable should not become taut before the desk reaches its intended height.
3. Walking path
Keep every loop off the belt and outside the step-off route. Never tape a cable to the moving surface.
Stop and reroute if a cord tugs, rubs, warms, hangs near the belt, or changes when the desk moves. Follow the desk and walking-pad manuals if either specifies a different cable path.
Keep stop controls within reach.
Before the first work session, learn the power switch, stop or pause control, remote behavior, and safety-key sequence for your model. A setup is not ready if the remote is lost under the desk or the safety key is bypassed to make the pad run.
Safety key
If supplied, attach and test it exactly as the manufacturer describes. Never bypass or modify it.
Remote
Pair it if required, confirm start/stop and speed buttons, and keep it reachable but off the moving belt.
Children + pets
Keep children and pets away from a running belt, controls, and the space behind the pad. Do not leave the pad running unattended.
Emergency stop
Practice stopping while stationary first, then keep a clear path to step off without crossing a cord.
Source boundary: the model manual controls the exact safety-key, remote, power, and emergency-stop procedure. WorkChoose is giving you a reminder to make those controls usable; this is not a replacement for the manual.
Run a short test before a long work block.
Start at the lowest speed that lets you control the belt. Walk for a short, two-to-three-minute test while trying the keyboard, mouse, camera, remote, and desk travel. Keep the first run deliberately boring: you are checking interactions, not proving endurance.
Stop the test and reset if you notice:
- Belt drift, slipping, or a surface that feels unstable
- Cord tug, cable rub, or a pinch point during desk travel
- A screen, webcam, keyboard, or mouse that is too shaky to use
- Unusual noise, smell, heat, or a blocked vent
- A remote or stop control you cannot reach immediately
- A task that needs more precision or attention than walking allows
Task-fit matrix
These are starting experiments from our workflow suggestion. They are not performance, safety, or health promises; your equipment, task, space, and comfort decide the result.
| Task | Starting experiment | Keep walking if… | Step off if… |
|---|---|---|---|
| Email / chat | Lowest controllable speed; short replies first. | The pointer, keyboard, and screen stay predictable. | Typos or reaching make the work slower than pausing. |
| Calls / meetings | Low speed with headset and remote within reach. | Camera framing, microphone, and conversation remain stable. | Movement distracts you, the camera shakes, or you need to take notes precisely. |
| Deep typing | Test at the lowest speed with a short paragraph or code block. | Wrists, shoulders, eyes, and input accuracy stay repeatable. | You need sustained precision, a stable camera, or full concentration. |
Leave the setup ready for the next session.
Turn the pad off and follow the manual before cleaning or servicing it. Wipe spills promptly, keep dust away from vents, and inspect the cord, belt, deck, rollers, remote, and safety key. Lubricate only when the manual calls for it and only with the product it specifies; more lubricant is not automatically better.
After use
Remove objects from the belt, store the remote and key where they can be found, and leave vents uncovered while the unit cools.
Regular check
Look for belt drift, fraying, unusual sounds, loose hardware, dust buildup, or a cord that has changed position.
Before storage
Use the manual’s folding, locking, lifting, and storage instructions; do not drag the pad by its cord.
Before you work
Setup checklist
Print this section or use it as a last pass after the test walk. Check the model manual whenever it is more specific than this general workflow.
Know the source
Three layers of guidance
OSHA ergonomic guidance
Use OSHA’s computer-workstation eTool for general monitor, keyboard, desk, and position references. It does not certify this setup or tell you to walk while working.
Your manufacturer manual
The exact model manual is the authority for surface, clearance, load, ventilation, duty cycle, remote, safety key, lubrication, and storage instructions.
Our practical suggestions
The worksheet, cable-loop sequence, task matrix, and short test routine are WorkChoose workflow suggestions—not OSHA quotations, medical advice, or safety certification.
Keep planning
Use your measurements for the next choice.
A setup guide can tell you what to measure. These related pages help you compare the equipment and constraints that come next.
One direct maker link
Ready to compare a real product page?
After your worksheet passes, you can check the current maker specifications and manual for one low-profile example. This is a reference link, not a claim that the model fits every desk or task.
Frequently asked questions
How high should my desk be with a walking pad?
Start with the desk height that puts your keyboard near your relaxed standing elbow height, then account for the walking-pad deck and your footwear. Use the formula on this page and verify the finished position while standing on the actual pad in the shoes you plan to wear.
Can I use a walking pad on carpet?
Only when the walking-pad manual permits that surface and the pad remains level and ventilated. A thick or soft rug can affect stability, belt tracking, heat dissipation, and step-off footing. Follow the model-specific instructions before adding a mat or floor protector.
Is it safe to work while a walking pad is running?
That depends on the equipment, your workspace, and the task. Start with a low-speed test, keep the stop control and safety key usable, and step off for tasks that need precise typing, stable camera framing, or your full attention. This guide is a setup workflow, not a health or medical recommendation.
How often should I lubricate or clean a walking pad?
There is no universal interval. Use the maintenance schedule and lubricant specified by your model manual, and inspect the belt, deck, rollers, vents, cord, and controls regularly. Do not spray cleaner into the motor housing or improvise a lubricant.