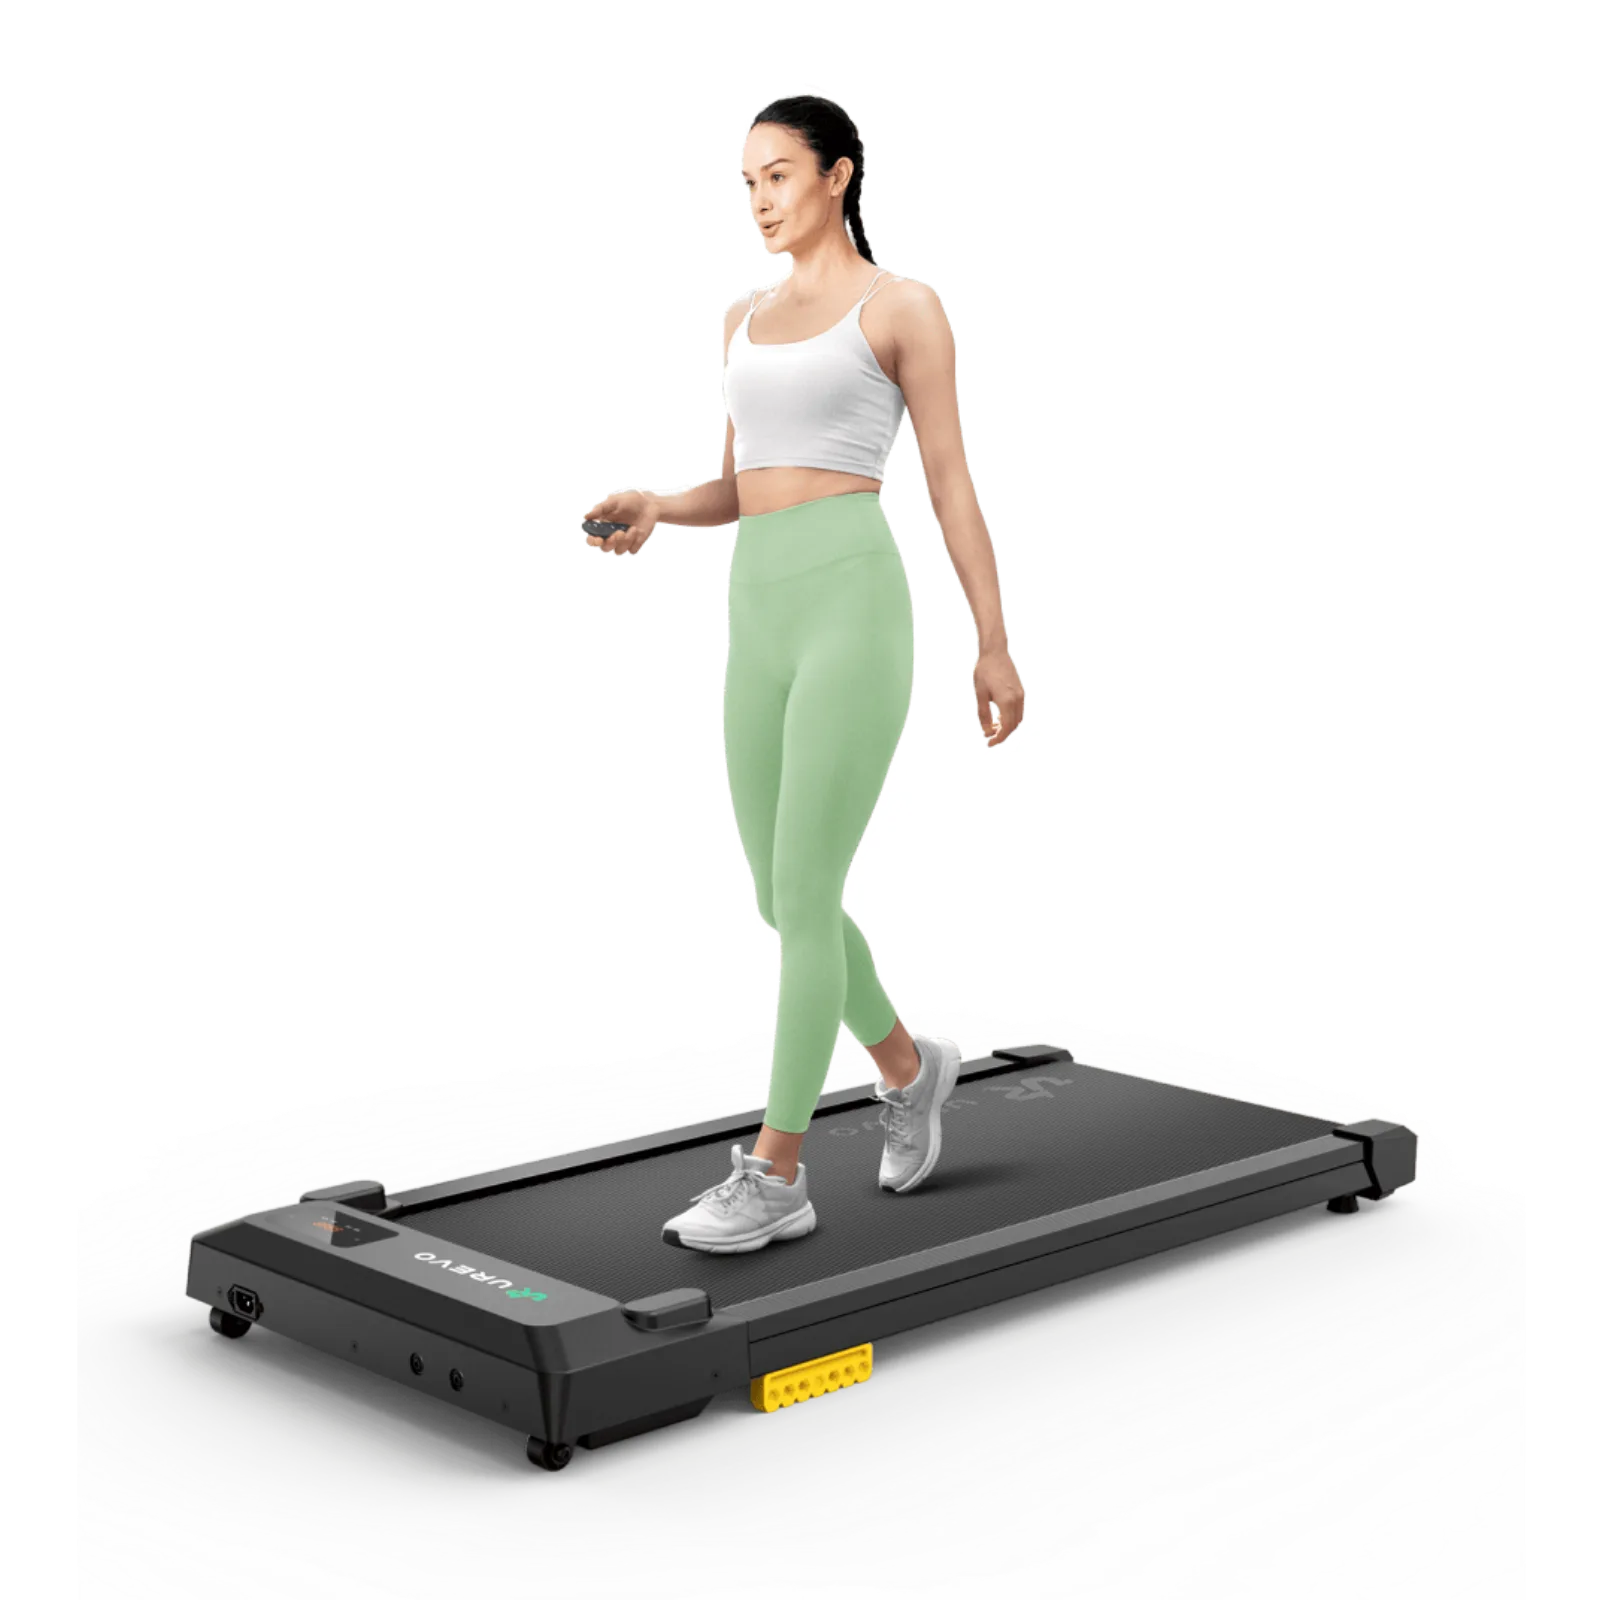
Walking while working
WalkingPad C2 belt adjustment: fix tracking carefully
A belt that drifts or slips can make a C2 feel worse than it is, but random turns can make alignment harder. Follow the model-specific sequence and stop when the symptom points beyond a small adjustment.
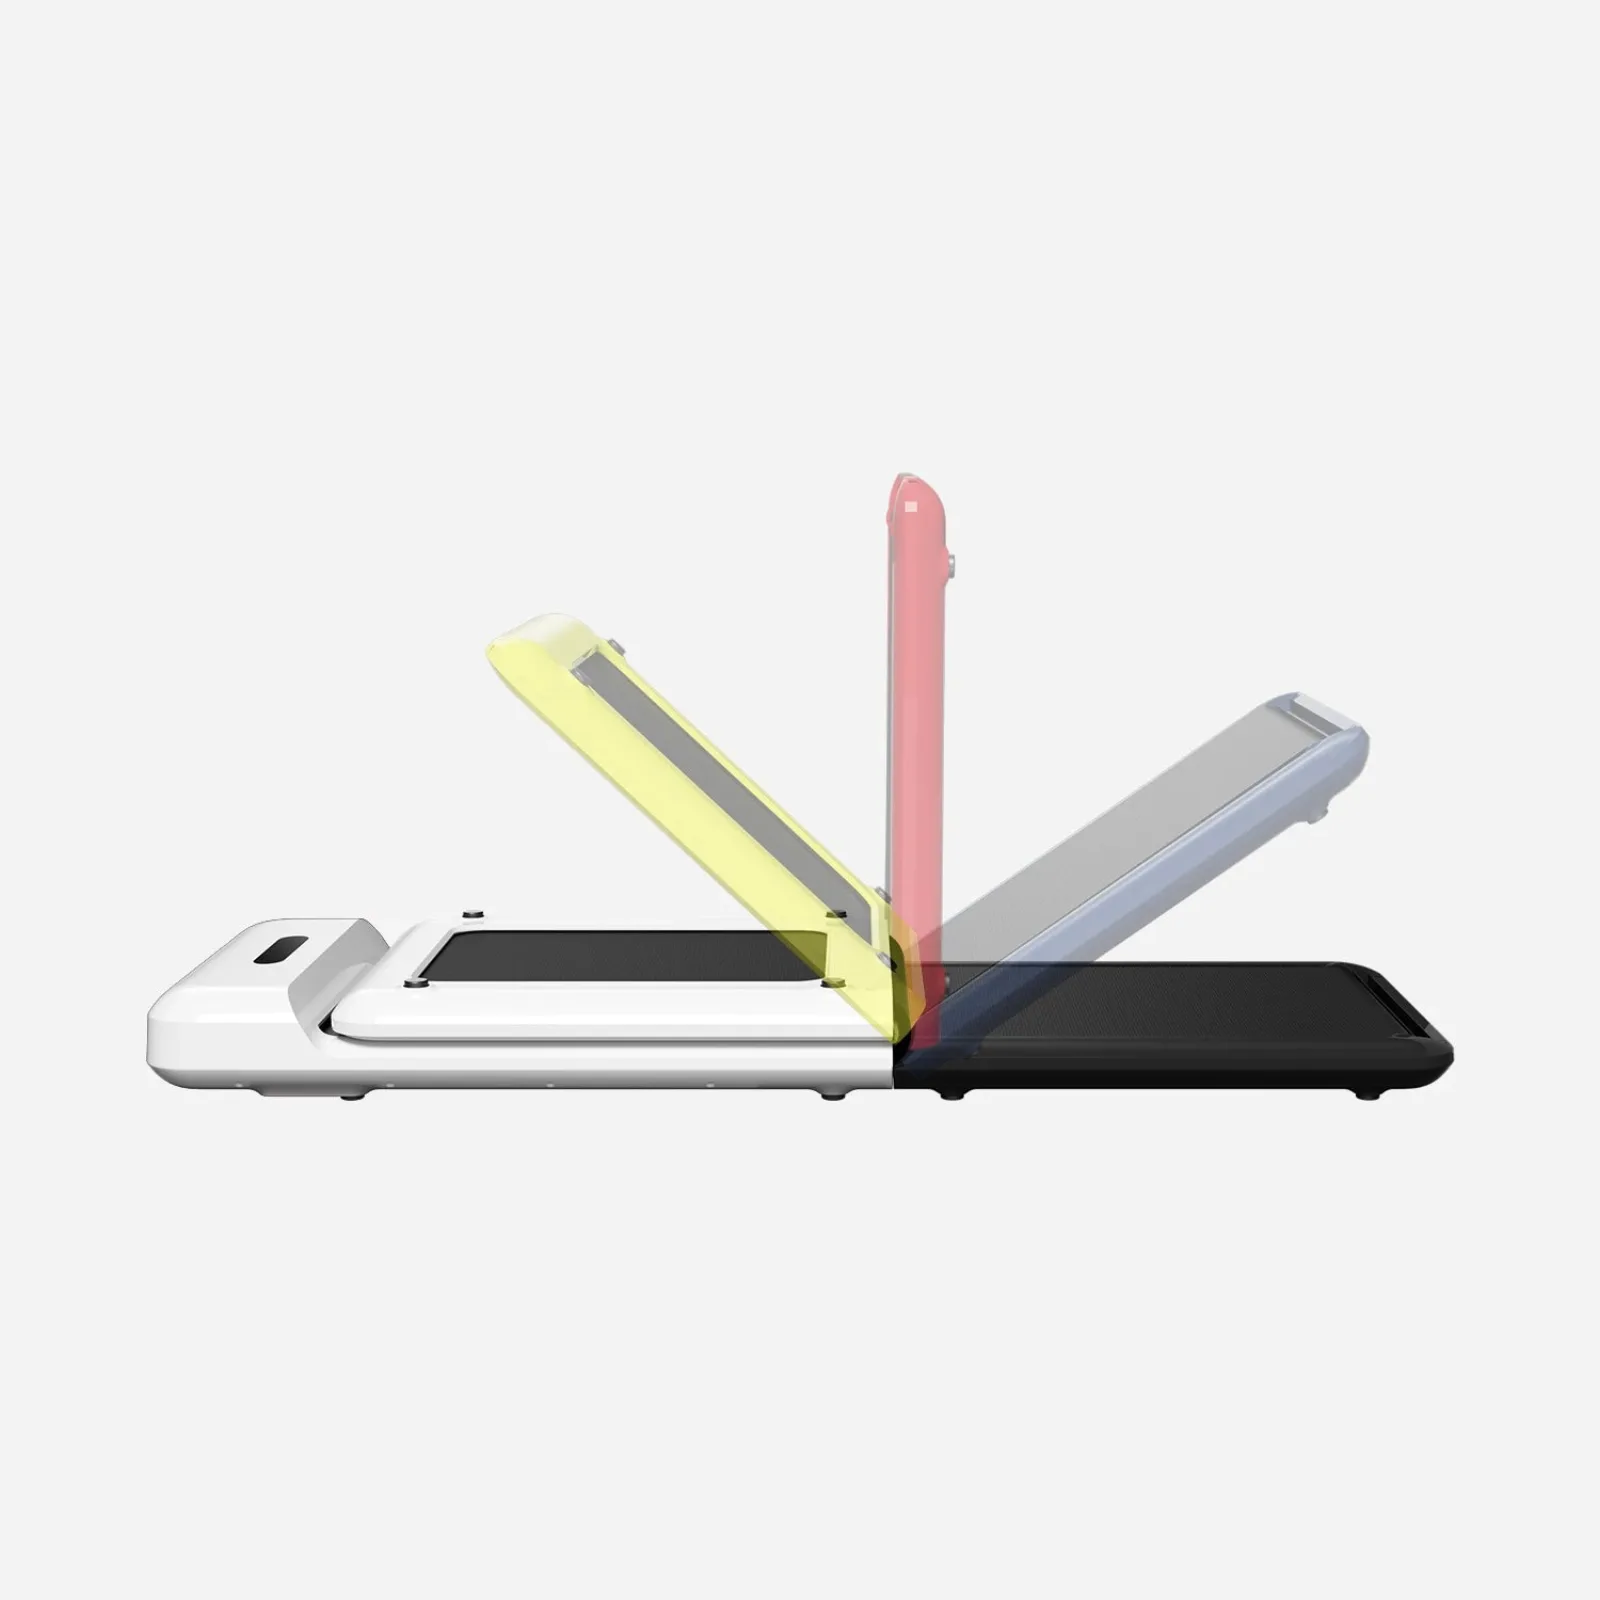
Power down, make the small manual adjustment, and observe the belt before touching it again.
WalkingPad C2 owners dealing with off-center tracking or slipping.
Do not borrow settings from another model or keep adjusting when the symptom points to service.
Our take is based on published specifications and linked sources. We have not hands-on tested these products. Some links may earn a commission.
Unplug for hands-on work
Power off and unplug before touching the belt, wrench, underside, debris, cord, or folding joint.
One side, one screw
The C2 PDF maps left drift to the left screw and right drift to the right screw. Slipping is the two-screw case.
Verify empty and slow
The official tutorial says no load; the C2 PDF says 3–4 km/h for 1–2 minutes after each correction.
C2 / WPS1F written baseline
Half-circle direction · 3–4 km/h · 1–2 minutes
Those values come from the official C2 PDF on WalkingPad UK's manuals page. The PDF cover identifies the model as WPS1F. It also warns to maintain factory tension and not overtighten the belt.
Important source boundary
The written PDF and video do not use the same turn example.
The C2 PDF checked here publishes a half-circle. WalkingPad's official C2 tutorial shows one-third-turn examples and says to run at low speed without load in M mode. Do not combine or stack the values. Use the exact manual for your unit, then verify.
Open official belt support articleC2 step-by-step
A controlled adjustment with a hard stop before every touch.
The screw directions and run timing below come from the official C2/WPS1F PDF. The no-load condition comes from WalkingPad's official C2 support tutorial. The PDF does not authorize hands near a moving belt; keep the adjustment itself stopped and unplugged, and use power only for the empty observation.
- 01
Confirm the model and the symptom
Check the label and manual before turning a screw. The official WalkingPad C2 PDF is labeled Model No. WPS1F. Separate a belt that drifts to one side from a belt that slips or pauses under a step; they use different adjustments.
- 02
Power down before any hands-on check
Turn the power switch off and unplug the cord before touching the belt, lifting it, inserting an Allen wrench, removing debris, cleaning, folding, moving, or inspecting the underside. Keep your fingers, clothing, and tools away from a moving belt.
- 03
Put the C2 fully flat on a suitable floor
The C2 manual says to place the WalkingPad on flat ground, fully unfold it, and check that the belt is centered. Do not connect power before the pad is fully unfolded. Keep people and pets clear while you work.
- 04
Make one direction-specific screw adjustment
Use the left/right adjusting-hole names shown in the manual. For the C2 PDF checked here, a belt drifting left uses the left adjusting screw clockwise by a half-circle; a belt drifting right uses the right adjusting screw clockwise by a half-circle. Do not turn both screws for a one-sided drift.
- 05
Treat slipping as a separate tension instruction
For a belt that is slipping, the C2 PDF says to turn both the left and right adjusting screws clockwise by a half-circle at the same time. It also warns not to overtighten: excessive belt tension can damage the motor. Stop after one controlled correction.
- 06
Run the adjustment check with no one on the belt
Reconnect power only after the wrench and hands are clear. WalkingPad’s official C2 tutorial calls for low-speed, no-load running in M mode. The C2 PDF specifies 3–4 km/h (about 1.9–2.5 mph) for 1–2 minutes after each adjustment; stand beside the machine and observe it.
- 07
Stop, unplug, and decide whether to repeat
Use the remote to stop the belt, switch the machine off, and unplug before touching anything again. Make only one correction per check. If the belt still drifts, slips, rubs, or looks damaged, do not keep tightening it—follow your exact manual or contact WalkingPad support.
Do not adjust by feel while the belt is moving. The C2 manual gives screw directions and a later run check, but it does not tell you to place a hand or wrench next to a moving belt. Keep the belt empty for the powered check and perform every hands-on change only when the machine is stopped and unplugged.
Direction map
Which rear adjusting screw does the C2 manual name?
Read “left” and “right” from the adjustment-hole labels and diagram in your manual. The table below reproduces the written C2 PDF baseline; it is not permission to keep turning until the belt feels right.
| Observed symptom | C2 / WPS1F PDF instruction | After the correction |
|---|---|---|
| Belt drifts left | Left adjusting screw clockwise by a half-circle | No-load run at 3–4 km/h for 1–2 minutes, then stop and reassess |
| Belt drifts right | Right adjusting screw clockwise by a half-circle | No-load run at 3–4 km/h for 1–2 minutes, then stop and reassess |
| Belt slips | Left and right adjusting screws clockwise by a half-circle at the same time | No-load run at 3–4 km/h for 1–2 minutes; do not overtighten |
What “small” means here
The PDF uses a half-circle for its written C2 baseline; the official support tutorial uses a one-third-turn example. Those figures are not a reason to make repeated large turns. Make one documented correction, let the empty belt run for the full check, then stop and unplug before deciding whether your exact manual allows another correction.
When to stop instead of tightening
Stop using the C2 for a damaged or frayed belt, scraping or grinding, an electrical smell, repeated error codes, abnormal heat, or slipping that remains after the documented check. Turn it off, unplug it, and send WalkingPad the model, serial number, order details, and a symptom video through its support path.
FAQ
WalkingPad C2 belt slipping and alignment questions
How do I adjust a WalkingPad C2 belt that moves to the left?
The official C2 PDF, labeled Model No. WPS1F, says to turn the left adjusting-hole screw clockwise by a half-circle. Make one controlled adjustment, then run the empty belt at 3–4 km/h (about 1.9–2.5 mph) for 1–2 minutes to check the result. Stop and unplug before touching the machine again.
How do I adjust a WalkingPad C2 belt that moves to the right?
The official C2 PDF says to turn the right adjusting-hole screw clockwise by a half-circle. Do not turn both screws for a one-sided drift. After the single adjustment, observe the empty belt at 3–4 km/h for 1–2 minutes, then stop and unplug before any further hands-on check.
What should I do if my WalkingPad C2 belt is slipping?
The C2/WPS1F PDF says to turn both left and right adjusting screws clockwise by a half-circle at the same time, then verify the result. It warns not to overtighten because excessive tension can damage the motor. A slipping belt can also have another cause, including excess lubricant or wear, so stop and contact WalkingPad if one controlled correction does not solve it.
Should I unplug the WalkingPad C2 before adjusting the belt?
Unplug before every hands-on action: touching or lifting the belt, inserting or turning the Allen wrench, cleaning, removing debris, folding, moving, or inspecting the underside. The adjustment check is the only powered part of this workflow. Reconnect only after the machine is clear, keep everyone off the belt, stop it with the remote, and unplug again before touching it.
Does the WalkingPad C2 belt adjustment test need to be unloaded?
WalkingPad’s official C2 support tutorial says to run at low speed without load in M mode. The written C2/WPS1F PDF supplies the check speed and duration—3–4 km/h (about 1.9–2.5 mph) for 1–2 minutes—but does not spell out a hand-near-the-belt procedure. Keep the belt empty and observe from beside the machine; never reach toward a moving belt.
Why does one WalkingPad video show a different turn amount?
WalkingPad’s official C2 tutorial demonstrates a one-third-turn example, while the C2 PDF linked here (Model No. WPS1F) publishes a half-circle for the named correction. Treat those as source or revision differences, not values to add together. Use the manual supplied with your unit, make one controlled change, and verify before any repeat.
Can I adjust the C2 belt while standing on it?
No. This guide uses the official support tutorial’s no-load check and the manual’s low-speed verification. Keep hands, feet, clothing, and tools clear of the moving belt. If the belt remains unsafe to inspect or adjust, stop using the machine and contact WalkingPad.
Should I lubricate a slipping WalkingPad C2 belt?
Not by guesswork. The C2 lubrication instructions and the belt-adjustment instructions are separate. Excess lubricant can make a belt slip, so check the exact lubrication guide and your manual before adding anything. If the symptom persists, stop and ask WalkingPad support rather than combining adjustments.
Will adjusting the C2 belt make it quieter?
There is no noise guarantee. Alignment and tension can affect how the machine behaves, but a scrape, grinding sound, burning or electrical smell, error code, damaged belt, or repeated slipping is a stop-and-support situation. Do not keep turning screws to chase a noise.
Is this WalkingPad C2 belt-adjustment guide based on a personal test?
No. WorkChoose did not personally adjust or test a C2. This page separates the written C2/WPS1F manual from WalkingPad’s official support tutorial and uses the manual supplied with your exact model, region, and revision as the controlling source.
Are the product links on this page affiliate links?
No. At the time of this review, the product button goes directly to WalkingPad and no affiliate tracking is active on this page. Prices, stock, warranty terms, regional instructions, and product configurations can change.
Continue the C2 check
Belt alignment is one part of a safe walking-pad setup.
C2 lubrication
Keep the separate silicone-oil instructions, amount conflict, and slipping warning in view.
Read nextC2 replacement remote
Check remote compatibility, pairing, battery evidence, and support steps for the C2.
Read nextSafety & maintenance
Use the broader manual-led preflight for floor, clearances, controls, cleaning, and stop criteria.
Read nextWalkingPad Z1 vs C2
Compare the C2 and Z1 on published size, weight, controls, storage, and evidence limits.
Read nextMain walking-pad guide
Compare models by belt fit, desk clearance, controls, storage, and manufacturer evidence.
Read nextOfficial source trail
Recheck the model label and current support instructions before touching the belt.
Source boundary: the official WalkingPad C2 PDF linked through the UK manuals index is labeled Model No. WPS1F and supplies the written screw directions, half-circle amount, and 3–4 km/h check. WalkingPad's official support article/tutorial supplies the no-load M-mode observation and shows a different one-third-turn example. WorkChoose did not make a personal test or a universal repair promise. Instructions, models, regional pages, prices, warranty terms, and support paths can change.